Minion Pumpkins!
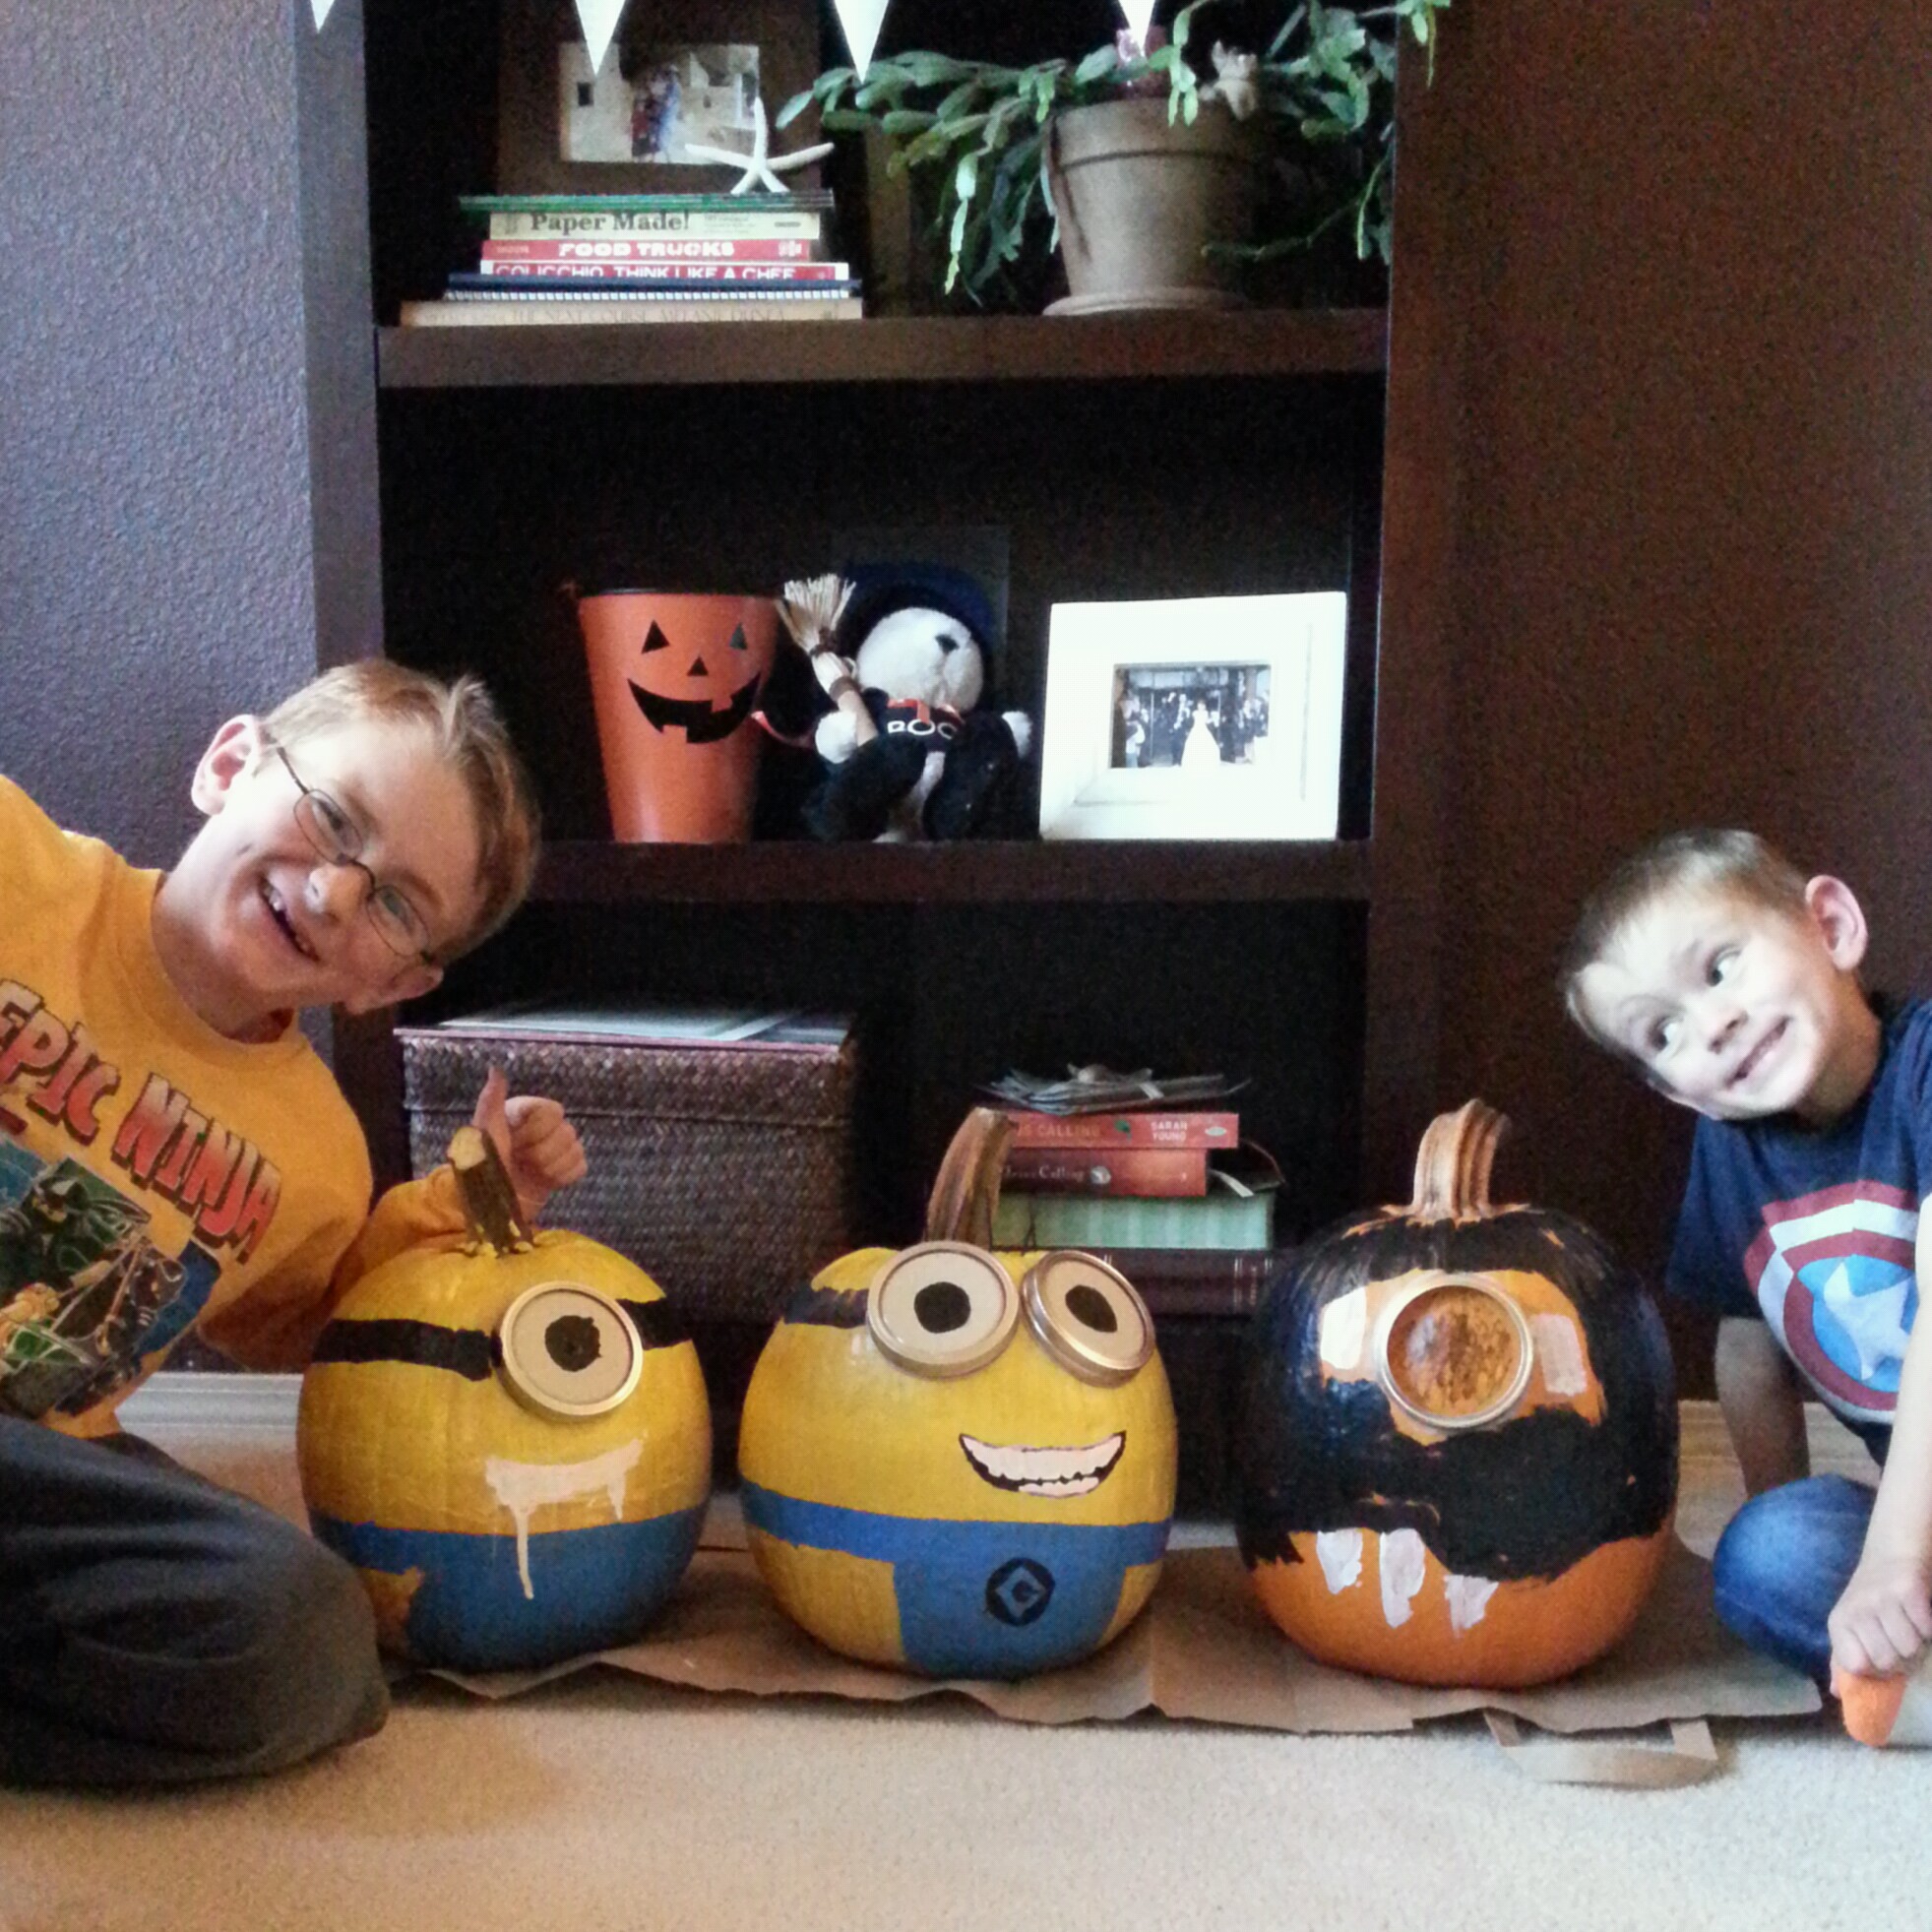
I love it when my boys and I get so wrapped up in a project that we forget to look at the clock or realize thirst or hunger and we just go for it until its done! That happened this afternoon and it was so much fun! It’s been quite awhile since the last time. I wish whole-heartedly that the project was born of my own imagination and creativity, but alas, it wasn’t. As with 99 percent of things, I came across it on Pinterest several months ago and pinned it right, smack on the top of my Halloween pin-board. And today I actually followed through with it! My family is somewhat obsessed with the Despicable Me movies and therefor this is a perfect project for us and wonderfully DZ-kid-friendly. I will post the original source of the Minion Pumpkin project at the end (because you’ve got to give credit where it’s due), but in the meantime, here’s a little bit of how our experience with it went today…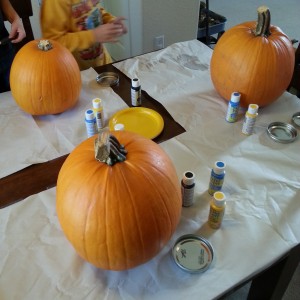 We used our nearly flawless pumpkins that we bought at our favorite plant nursery a couple weeks ago at their Fall Festival. Seriously, the most lovely pumpkins I’ve seen anywhere!
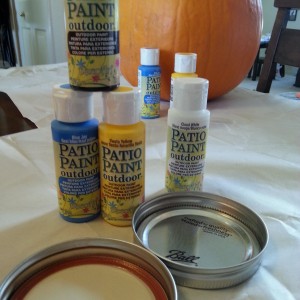 At Hobby Lobby this morning, the boys and I picked out this outdoor paint. I think its acrylic. It was on sale for $1.25 a bottle! What a steal! We stocked up. We also picked up four Ball jars for the lids, which are used for the goggles.
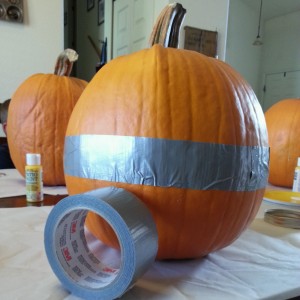 I decided to use duct tape as painter’s tape to get a clean division between the yellow and the blue paint. It worked pretty well and did the job I had hoped for.
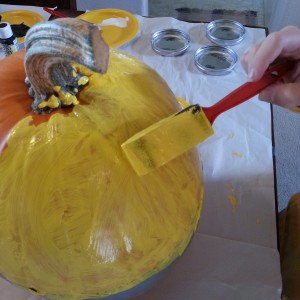 Logan opted for one coat of paint on his Minion.
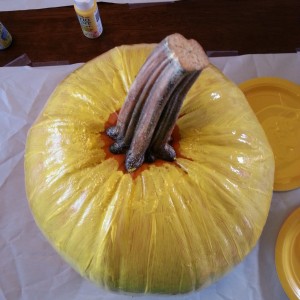 I used two coats of paint. Its just personal preference and patience level. I’m not sure there was a largely noticeable difference between the two.
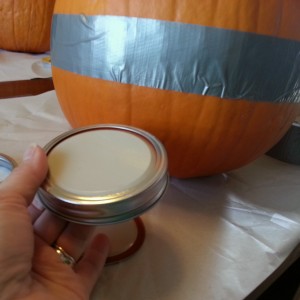 While our paint was drying, we began assembling the goggles. Just invert the inside of the Ball jar lid so that the white part is showing through instead of the silver.
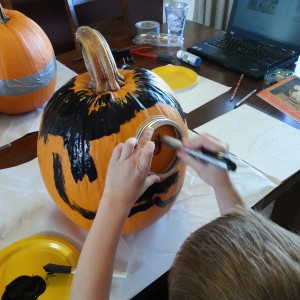 Oh, meanwhile, our Eli was very busy assembling his Vampire Minion.
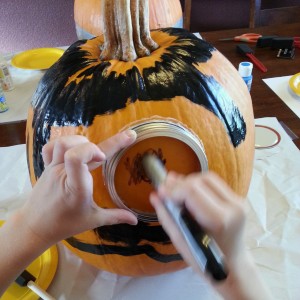 He was blazing his own trail and loved every minute of it! I’m sure he enjoyed the freedom of doing his own thing. I can’t blame him!
 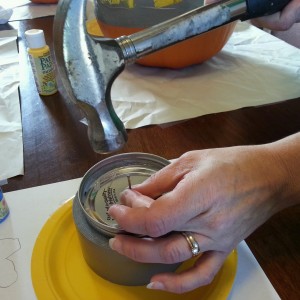 Back to the goggles. After using a hot glue gun to adhere the inside of the lid to its rim, I hammered a nail thorough the middle. Then, I pressed the entire goggle into the flesh of the pumpkin with the nail.
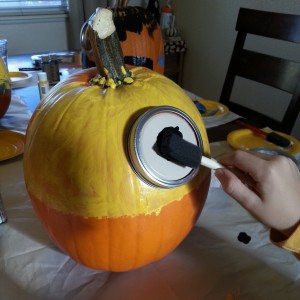 When Logan painted the black of the eye over the nail head, it could hardly be seen.
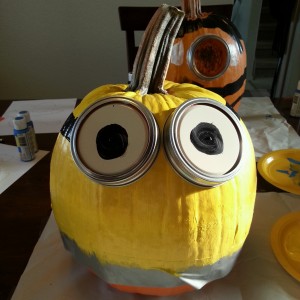 I did the same with mine and then painted the band of the goggles around the back of the head.
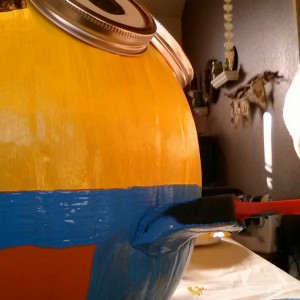 We thought we would wait until the yellow was completely dry and then use the duct tape again to make a clean line for the blue, but it wasn’t necessary. Besides, I didn’t feel like waiting this time.
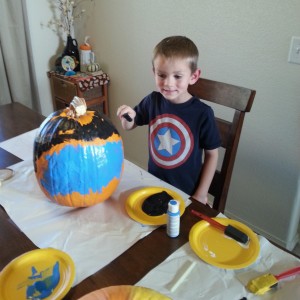 Back to our Eli, he just kept busy adding blue to the back of his Vampire Minion.
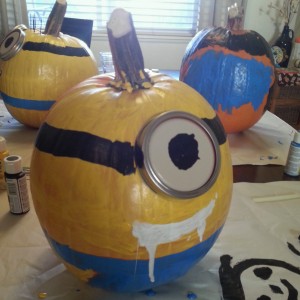 Logan knew he would make his a little on the spooky side and decided that his Minion would drool white acid from its mouth. This is quite in keeping with what I’d expect of my oldest boy.
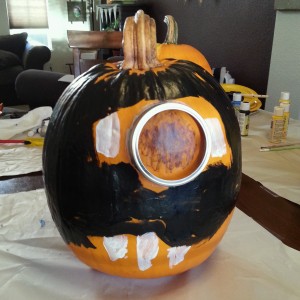 I so love how Eli’s came out. I love that it was exactly what he had in his mind and he was so happy with it! Way to stay out of the box, son!
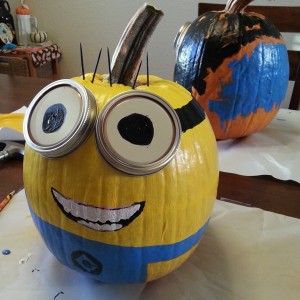 And, well, yes. I’m awfully delighted with how mine turned out.
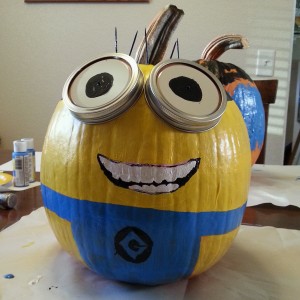 The perfectionist girl in me showed up a little for this project. And please remember, she and I are pretty much strangers! It was such a fun project! I really enjoyed finishing it up with the small details like the “G” symbol and the mouth. I would quite honestly pick the painting of the pumpkins over the carving of the pumpkins any day!
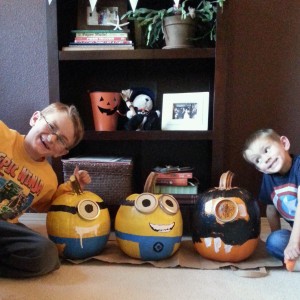 It’s pretty fun having these guys in the house with us! Er, the Pumpkin Minions, of course!
Happy Halloween!
BOOOOO!!!!!!
(That Boo is courtesy of Logan, by the way, who is putting off bedtime).
And thanks to the girl on CraftberryBush.com who posted her tutorial on Pinterest. Her site is found here.

