D-I-Y Chalk Message Board

When I get my mind set on something-especially when it is something that happens to be a project that will pretty-up or make-cuter my home, I don’t stop until it is done. Take for example my very first button flower arrangement and look where that took me!!
Yesterday was no exception to this certain way about me. I had it in my mind that I needed to find a chalk board. Just a small one, maybe for a wall in the kitchen. I needed it to be used as a message board, but one to mostly put words of encouragement or inspiration on. When I couldn’t find anything more than white boards at Wal-Mart, I decided a trip to Hobby Lobby was in order. But guess what? Eli wasn’t interested at all in joining me at Hobby Lobby. He could be over that place by now…
But this hold up was ok, perhaps a blessing, because during the time that I wasn’t yet at Hobby Lobby, I created an image in my mind of what I could do should I find a chalkboard. It was based on a picture I had seen on Pinterest a while back. What I saw was a frame (just the frame-no back or glass) that someone hung on their wall, then screwed four tiny hooks into the wall inside the frame and it became a fancy key holder. You could also use it to hang necklaces or bracelets…
So, yesterday, I thought, why not try and use the same concept with a chalkboard? I could make it my own! Well at that point I couldn’t get to Hobby Lobby fast enough and after I dropped Eli off at pre-school, guess where Chris and I went on his lunch break?
I’ve said it before and I’ll say it again: He’s a good husband. Did I say good ? I meant great! 🙂
Well, why don’t I just tell you about it then?
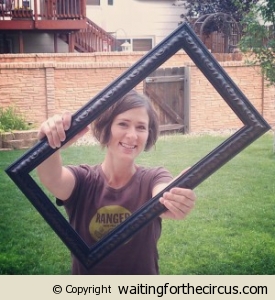
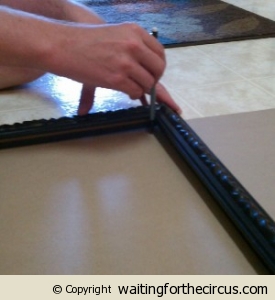
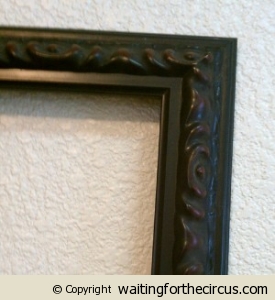
We picked out this frame (Ahem, 50 percent off! Score!) It is a perfect shape because the space I was looking to fill is very rectangular!
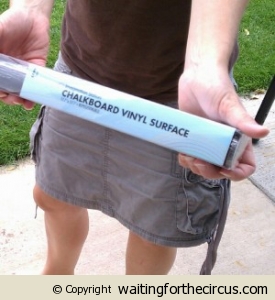
Because we couldn’t find a long rectangular shaped chalkboard, we discovered this: chalkboard vinyl surface-its basically contact paper that you can write with chalk on (and the chalk comes right off with a damp towel!).
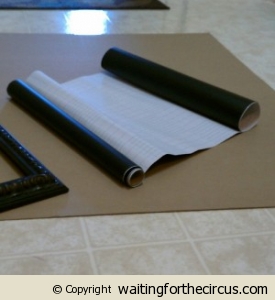
It comes in a roll like this! The large cardboard underneath is just that-cardboard-and we used it as a sturdy surface to adhere the contact paper to.
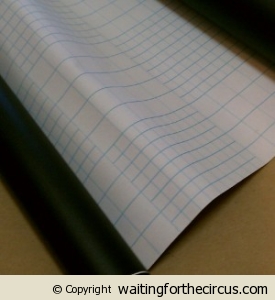
This is what it looks like up close. I realize they were perhaps trying to be helpful by providing all of the lines for the purpose of measuring…however, I found it to be unhelpful. So there.
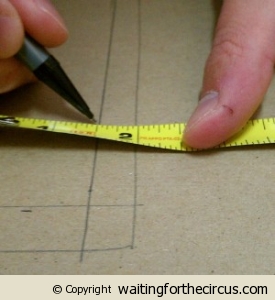
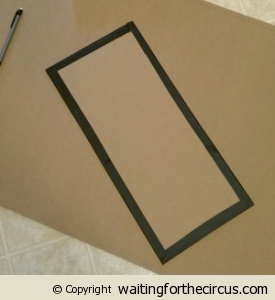
Just to give it a little more character, I knew I wanted to be able to see about a half inch of the wall between my chalkboard and the inside of the frame. So, Chris helped me to measure it and draw the straight lines. I know, I am a little embarrassed that I have to solicit help for that-but measuring and drawing straight lines is not my strong suit!
Here he measures half an inch (for our purposes-your’s might be different.) That’s the beauty of DIY!!
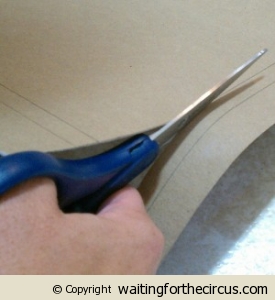
Oh, did I mention I’m lousy at cutting in straight line too? Or did you just go ahead and assume that. It’s ok if you did. Because it’s true!
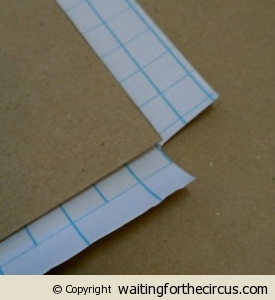
Here’s the part that I did! I cut the vinyl about an inch wider than the cardboard on each side so that I could wrap it tight around the sides. I cut the corners off so I could fold each side in without any extra hanging off the corners.
This is what the back of the cardboard-turned-chalkboard looks like.
Then, I raided Chris’s tool box for a hammer and nails and we hung it up….OK, OK, he hung it up…but I’m not sure why. Maybe he was saving me from any problems that might have occurred. I was very much on a time element and would possibly not have handled a problem with grace at that moment.
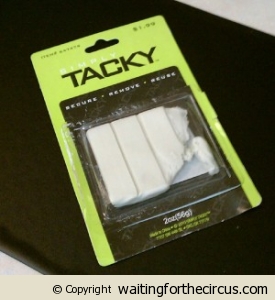
I remembered that I had this tacky sticky stuff, but I can’t remember what for! Nevertheless it worked to adhere my new chalkboard to the wall inside the frame!
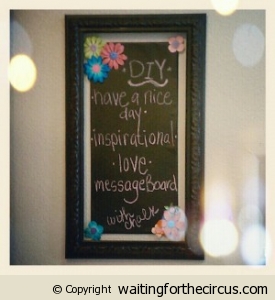
So, you see, I stuck it to the wall inside the frame and this is what it looks like! Of course it wouldn’t be complete if I didn’t add some flowers and buttons for the decor because that is what I’m about, after all.
Chris and I sometimes laugh about using so many positive words and often make it even more fun my adding words like rainbows and unicorns, butterflies and ponies…. Those words came out when we were trying to come up with a name for our new message board, but the Have a nice day, rainbow, butterfly heart, love, inspiration message board with chalk didn’t fit on it! Darn! I should have made it bigger!!
All kidding aside, I felt like I picked the most important words for the name that resonate seriously and positively into my day and that of my family’s. Then of course when I saw I was able to fit with chalk on the bottom, I most certainly did!
If I could fix one thing, which I probably will at some point, I would go back and make sure there aren’t any air bubbles between the cardboard and the contact paper. That maybe would have been avoided if I unrolled it and kept if flat for a while first. It might take some experimenting! That said, I am totally happy with the outcome! It is serving it’s purpose and it makes me smile and feel light every time I look at it!
Happy D-I-Y-ing!


Love it!! It is sooo cute! I hope you posted it on Pinterest, because I am!!